Browser Extension Identifies available units/spots on the page and requests the user to select a unit to replace in order to insert a keyword block.
You can install the extension from here.
Installation
- Navigate to the above link and download the entire folder to a local directory. When you click on download, you will see a pop-up asking you to leave the site. Click the Leave button and the download will begin.
- Ensure the project files are not deleted or the browser extension will break. The Browser extension currently only works in chromium-based browsers.
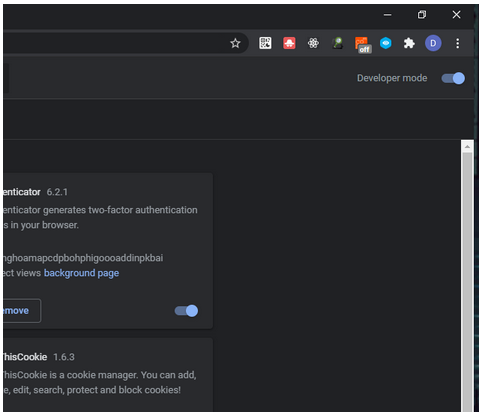
- Open your browser and navigate to your installed extensions page. If you are using chrome you can enter this in your URL chrome://extensions/ to navigate to the browser’s extensions page.

- In your browser enable developer mode to allow for the installation of the extension. This can be found in the top right corner of the webpage in the chrome browser.
- Click on the Load Unpacked Button in the Web Page and navigate to the path within the project file download location. This button in the top-left position in the chrome browser.

- Click on the select folder and the Browser Extension should now be visible in the screen

- Ensure you click on the refresh button in the Glimpse Extension Card and refresh all your webpages for the changes to take effect. This action will also have to be performed when the project file has been changed.
How to use the Glimpse extension?
Custom templates have been installed for CNN, MSN, WebMD, and Forbes only. For all other domains, you will see a default keyword creative and SERP template appear.
This extension can be used on the following browsers: Google Chrome, Opera, Brave, Microsoft Edge, Epic, Torch. The full list is available here.

Note: You may pin the extension by clicking on the Extensions icon on the top right and then enabling the pin next to the Glimpse Browser extension line item.

Instructions:
- Hover over the spot where you would like the keyword block to appear.
- Right-click on the element on the page, and click Inspect.

- Identify the corresponding tag to that element and right click to Copy > Copy XPath.
- If you are selecting an image or a paragraph of text, the HTML element highlighted in Inspect element will be a
or an
tag. Identify the
tag exactly above it, while ensuring that the tag selected still highlights the element you are looking for.- Close Inspect Element and Launch Glimpse.
- Paste the copied XPath in the “XPath” input field.
- Select the position of the inserted tag:
- Replace: replacing the selected element at the same position.
- Insert Above: Inject the keyword block above the selected element, shifting page contents down.
- Insert Above: Inject the keyword block below the selected element, shifting page contents down.
- The Tool will then provide a list of available keyword creatives using the AdUnit Template dropdown. Select the unit you want to view.
- The size of the unit will be automatically filled in the Width and Height fields. If you’d like to go for a different sized keyword block you may switch it at this time.
- Clicking on the Render Sample AdUnit button will inject the keyword block at the position requested.
- If no keyword block shows, there may be an issue with the Xpath you have selected. Use the following steps to correct the issue:
- Refresh the page.
- Open up the inspect element tray, and look for the first
- If you are selecting an image or a paragraph of text, the HTML element highlighted in Inspect element will be a


